If a thief ever steals an iPhone out of your bag or snatches it from your grasp, panic sets in immediately. You may also have a lot more to worry about beyond just the cost of replacing the phone. What if they saw you enter the passcode and now have easy access to all your messages, photos, and sensitive information? While it definitely sucks to have your smartphone stolen, turning on Apple’s Stolen Device Protection can immediately cut thieves’ access to your iPhone’s data. This feature is not automatically enabled and needs to be activated before the crime occurs.
First released as part of iOS 17.3, Stolen Device Protection essentially adds an extra layer of security to your smartphone whenever the device is somewhere you don’t regularly visit. Here’s a quick guide to what the software feature does and what steps are necessary to turn it on.
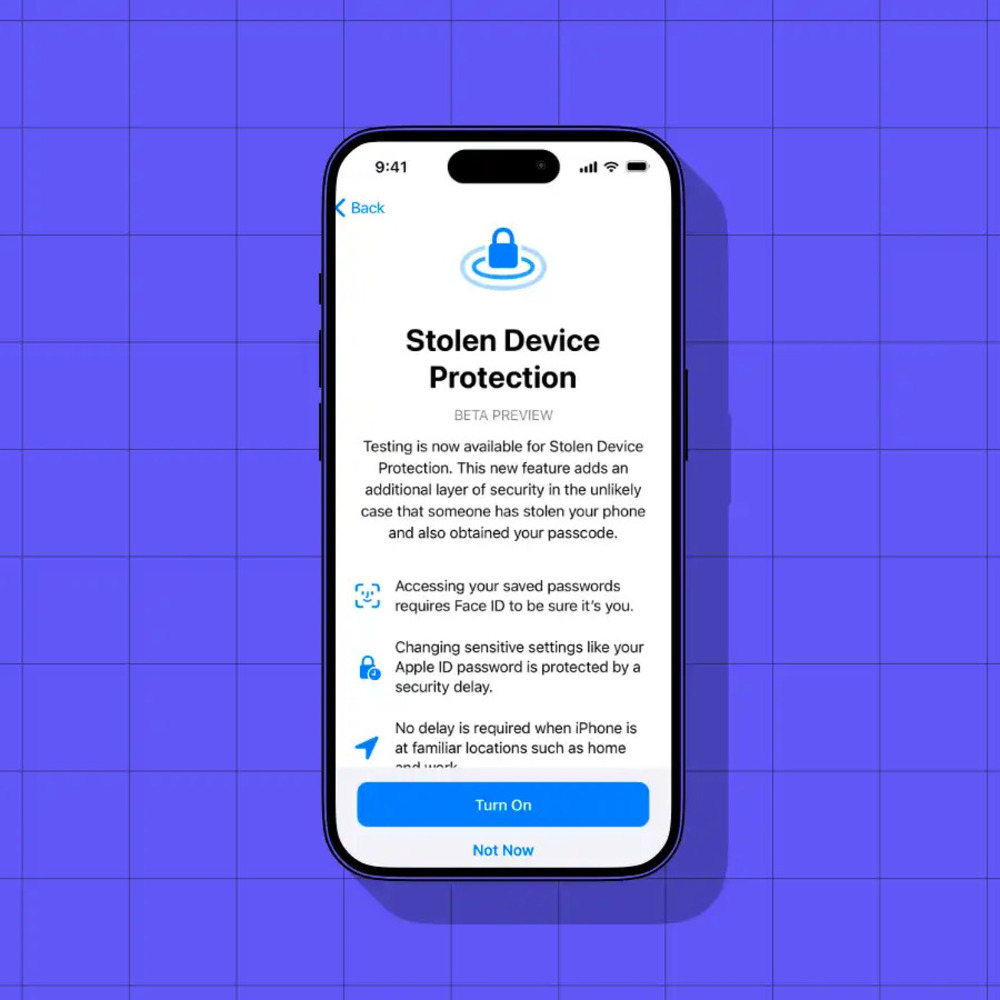
What Does Stolen Device Protection Do?
The feature is specifically designed for situations where a criminal not only takes your iPhone but also knows your passcode and can unlock the device. When they physically take your phone away from you and bring it to a location you don’t frequently visit, the Stolen Device Protection security measures begin to kick in.
The main thing the feature triggers is it starts requiring your Face ID biometrics to access any sensitive features on the phone, like using your Keychain passwords, viewing your stored payment information in Safari, and disabling Lost Mode. Even if the thieves know your passcode, it will no longer work as a backup option; Face ID becomes required for full access. This also prevents thieves from easily wiping all your data off the phone so they can sell it, as that procedure requires Face ID as well.
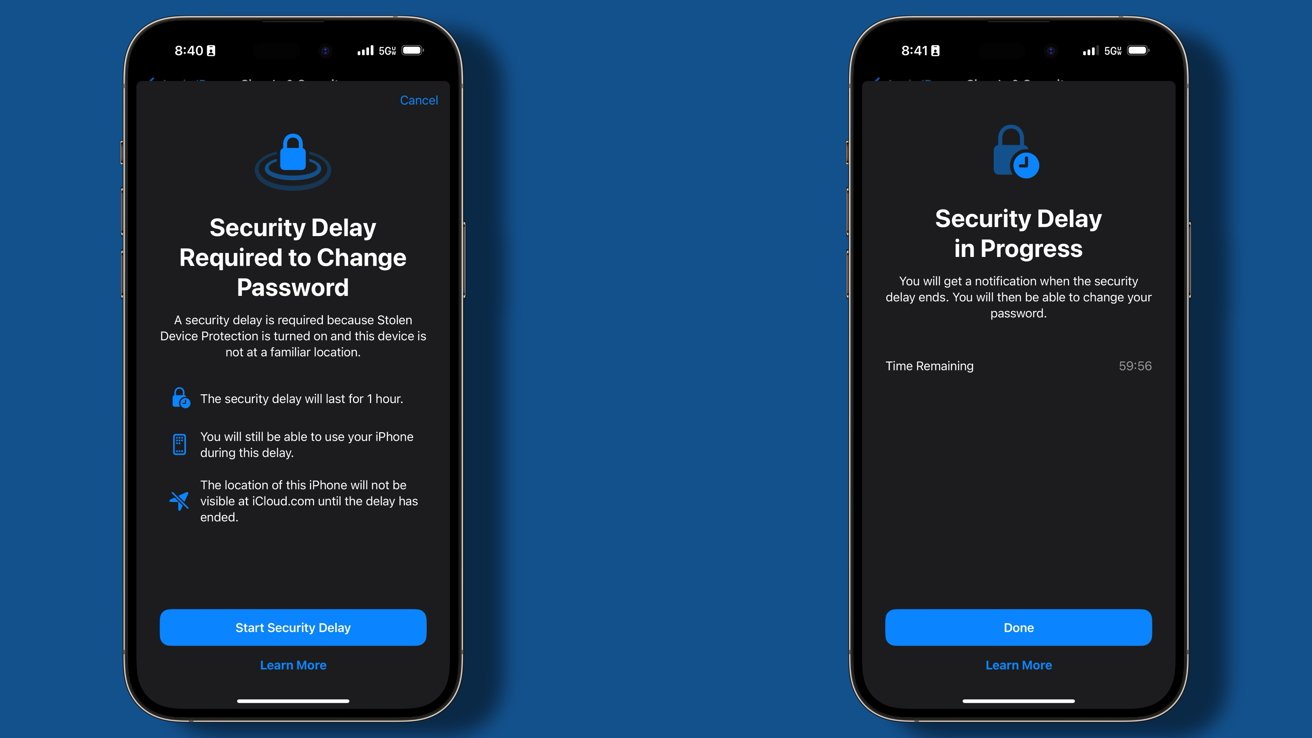
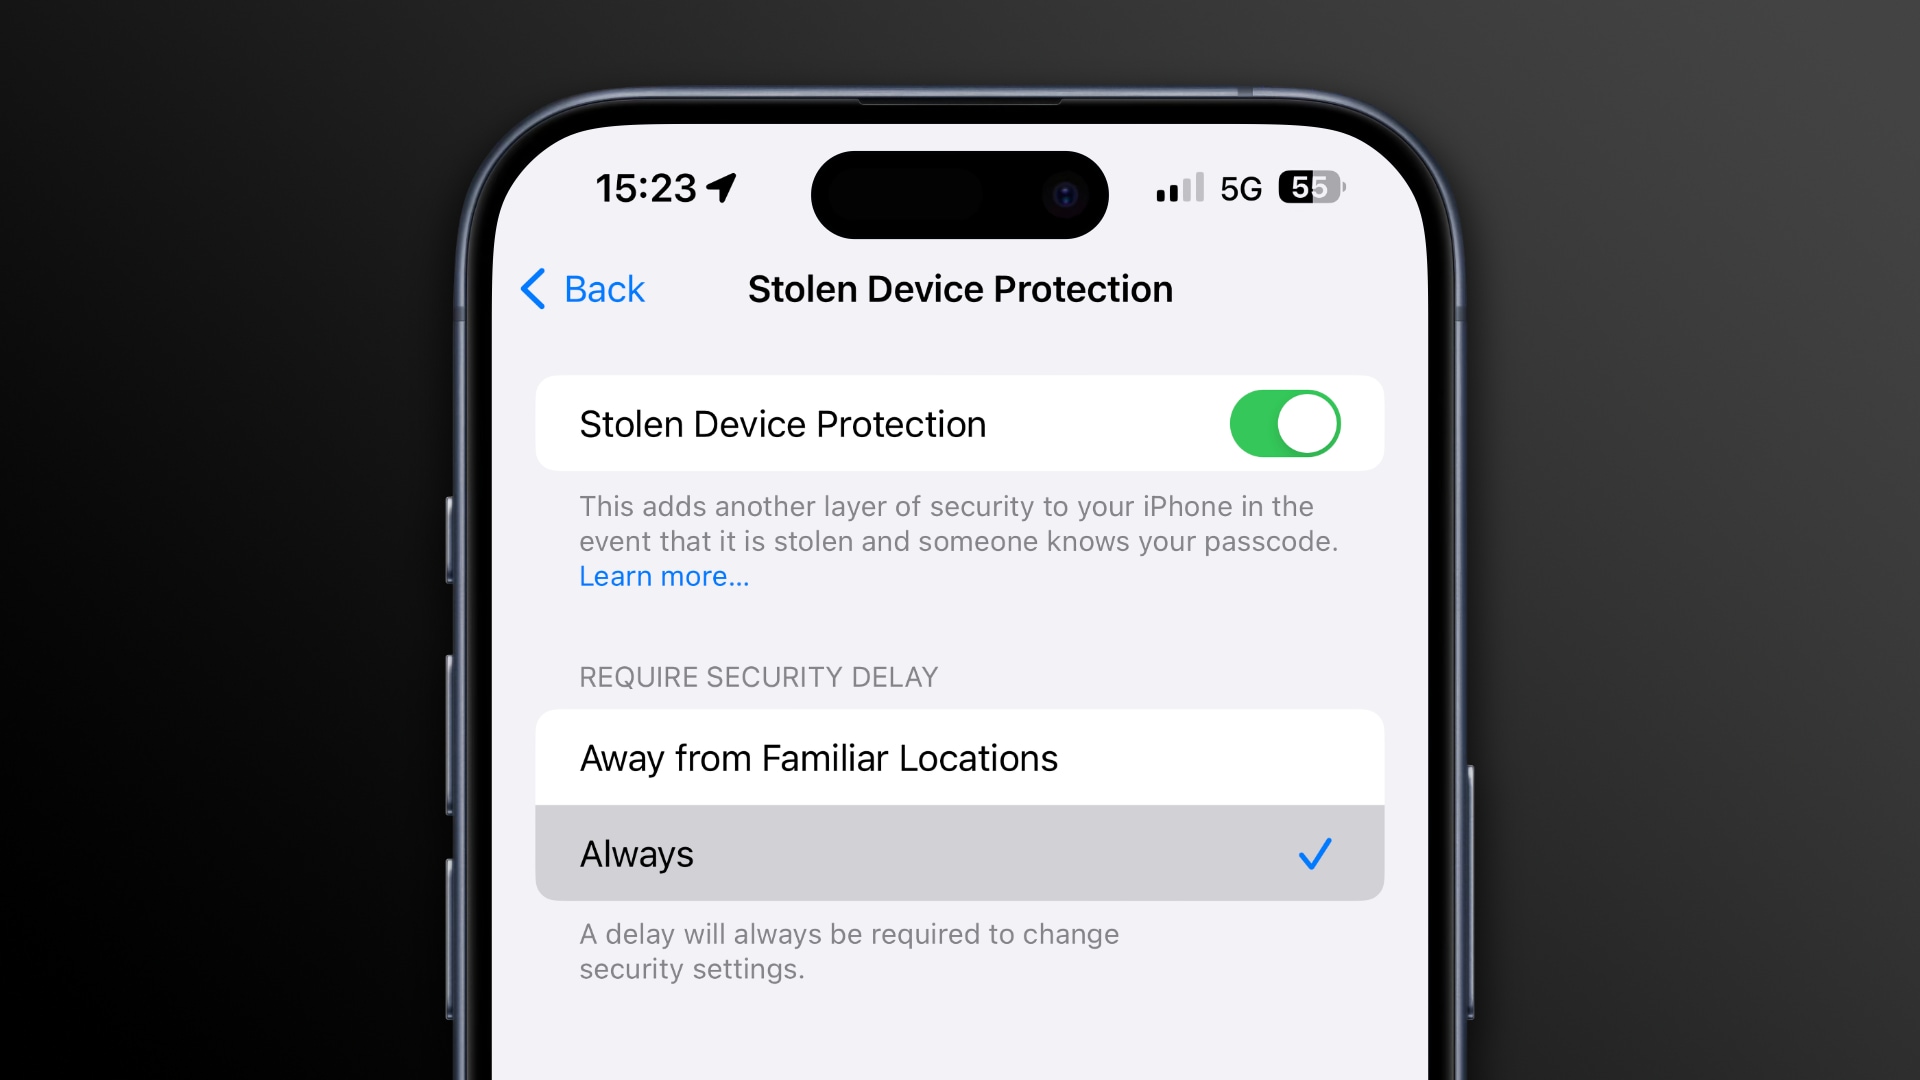
In addition to forcing biometric authentication, Stolen Device Protection adds a security delay period for changes to safety features on the phone. If the thief wants to sign out of your Apple ID or turn off Find My iPhone, for example, they can’t just hold up the phone in front of your face for a few seconds as they flee the scene of the crime. With the feature’s automatic security delay, you have to wait an hour to make major safety changes to the device, and you have to confirm your biometrics at the beginning as well as at the end of this process.
How to Turn on Stolen Device Protection on iPhone
Before you’re able to turn on Stolen Device Protection, you first need to set up a few other basic features on your smartphone. You probably already have Face ID and a passcode enabled on your Apple device—both of these are necessary for the feature to work.
Step 1: Enable Two-Factor Authentication (2FA)
Next, you’ll need to check whether two-factor authentication (2FA) is enabled for your Apple ID, which is a good idea even if you aren’t using Stolen Device Protection. Check to see if you’re already using this by:
- Going to Settings
- Tapping on your name at the top
- Choosing the Sign-In & Security tab
- Checking whether 2FA for your Apple ID is on or off in the middle of this screen
Step 2: Enable Significant Locations
The last software feature you need to activate on the iPhone is Significant Locations. This keeps track of places you regularly visit, so your phone can detect whether it’s in a familiar or unfamiliar place. According to Apple, the data is end-to-end encrypted and is not read by the company. Here’s how to enable it:
- Open Settings
- Tap Privacy & Security
- Select Location Services
- Scroll all the way down and tap System Services
- Choose Significant Locations
- Unlock with Face ID if prompted
- Move the toggle to the right to enable the feature
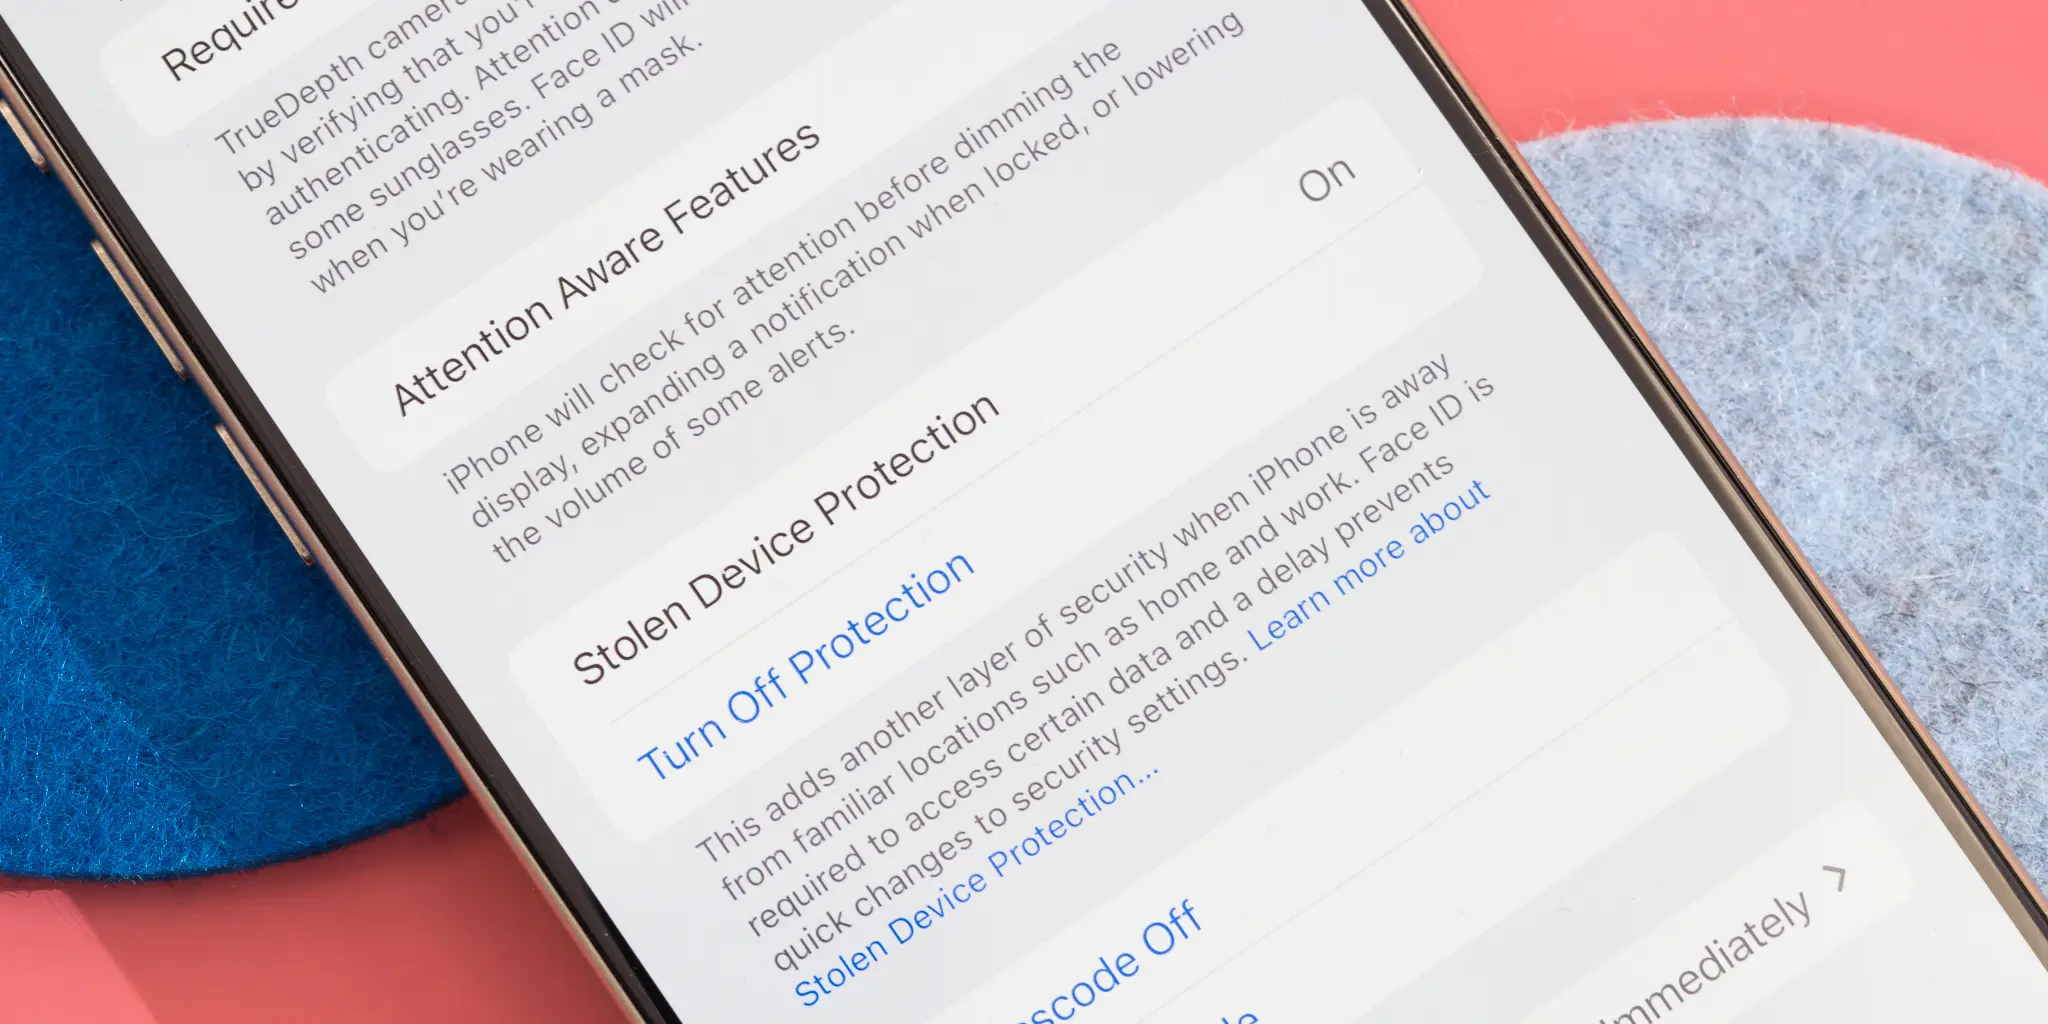
Step 3: Turn on Stolen Device Protection
Once you have completed the above steps, you can finally enable Stolen Device Protection:
- Open Settings
- Tap Face ID & Passcode
- Enter your passcode
- Scroll down to find Stolen Device Protection
- Toggle the switch to the right to enable it
Why You Should Enable Stolen Device Protection on Your iPhone
Apple Stolen Device Protection is an essential security feature that ensures your personal data remains safe even if your iPhone is stolen. By activating this feature, you make it significantly harder for thieves to access sensitive information or disable crucial security settings. With iPhone stolen device protection enabled, you can rest assured that even if your device falls into the wrong hands, your data remains secure.
Taking the time to enable Stolen Device Protection now can save you from potential financial and emotional stress later. Don’t wait until it’s too late—turn on this feature today and safeguard your iPhone from theft!
Featured image: Macworld
For the latest in fashion, lifestyle, and culture, follow us on Instagram @StyleRave_
—Read Also