
Skincare trends may come and go, but those backed by science stand the test of time. Once limited to dermatology clinics, micro-needling is now a rising star in at-home beauty routines. The thought of rolling tiny needles across your face might seem daunting, but the potential benefits—firmer, smoother, and more radiant skin—make it a game-changer worth considering.
Collagen is the holy grail of youthful skin, and micro-needling is designed to boost its production. By creating tiny, controlled wounds, the process activates your skin’s natural healing response, leading to a firmer, plumper, and more radiant complexion. If you’re considering at-home micro-needling, this guide covers everything you need to know—from the science behind it to expert techniques for achieving professional-grade results from the comfort of your home.
What Is Micro-Needling?
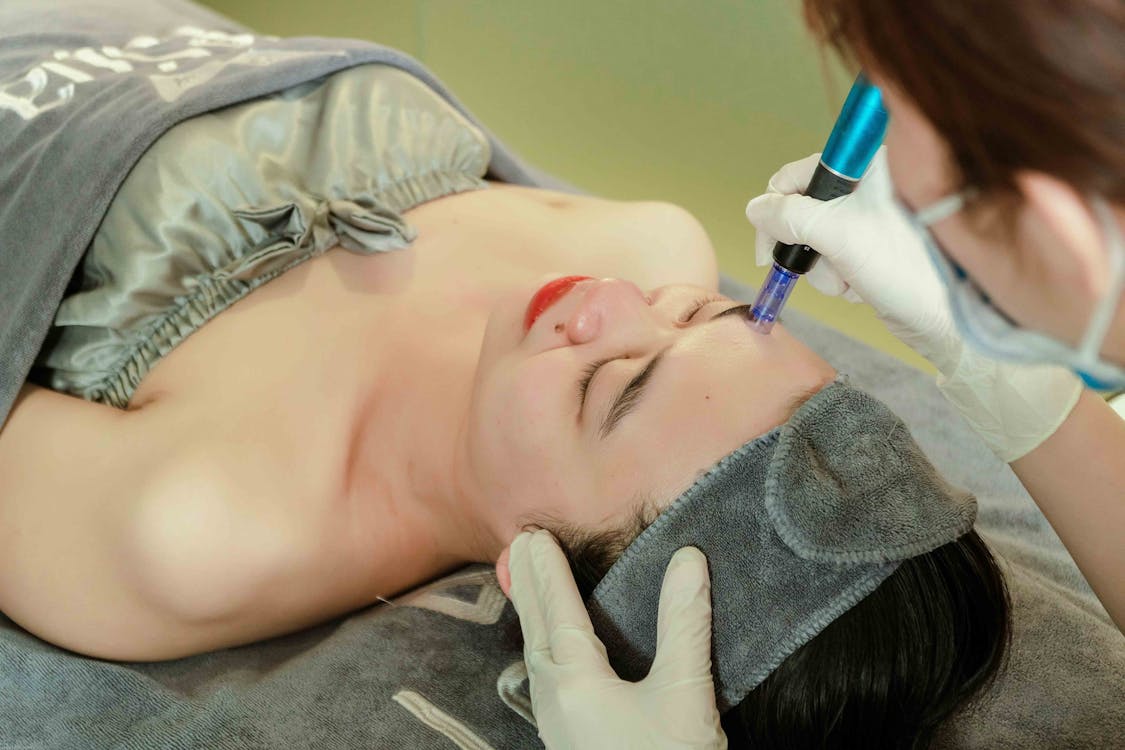
Micro-needling, also known as collagen induction therapy, uses a derma roller or micro-needling pen to create thousands of tiny, controlled micro-injuries on the skin’s surface. This process kickstarts the body’s natural healing response, boosting collagen and elastin production. Over time, it helps refine skin texture, smooth fine lines, fade acne scars, and even enhance the absorption of skincare products for maximum effectiveness.
The Science Behind Micro-Needling
While the idea of poking tiny holes in your skin might seem counterproductive, it’s actually one of the most effective ways to encourage skin renewal. When your body detects these micro-injuries, it rushes to repair them by producing more collagen—a key protein responsible for maintaining skin elasticity and strength.
Some of the key benefits include:
- Increased collagen and elastin production: Helps improve firmness and elasticity, reducing the appearance of wrinkles.
- Enhanced skin texture: Smooth out uneven skin tone and rough patches.
- Reduced hyperpigmentation and scars: Great for fading acne scars, sun spots, and dark marks over time.
- Smaller pores: Over time, micro-needling helps tighten and shrink enlarged pores.
- Boosted product absorption: Allows serums and moisturizers to penetrate deeper into the skin for maximum effectiveness.
DIY vs. Professional Micro-Needling: What’s the Difference?
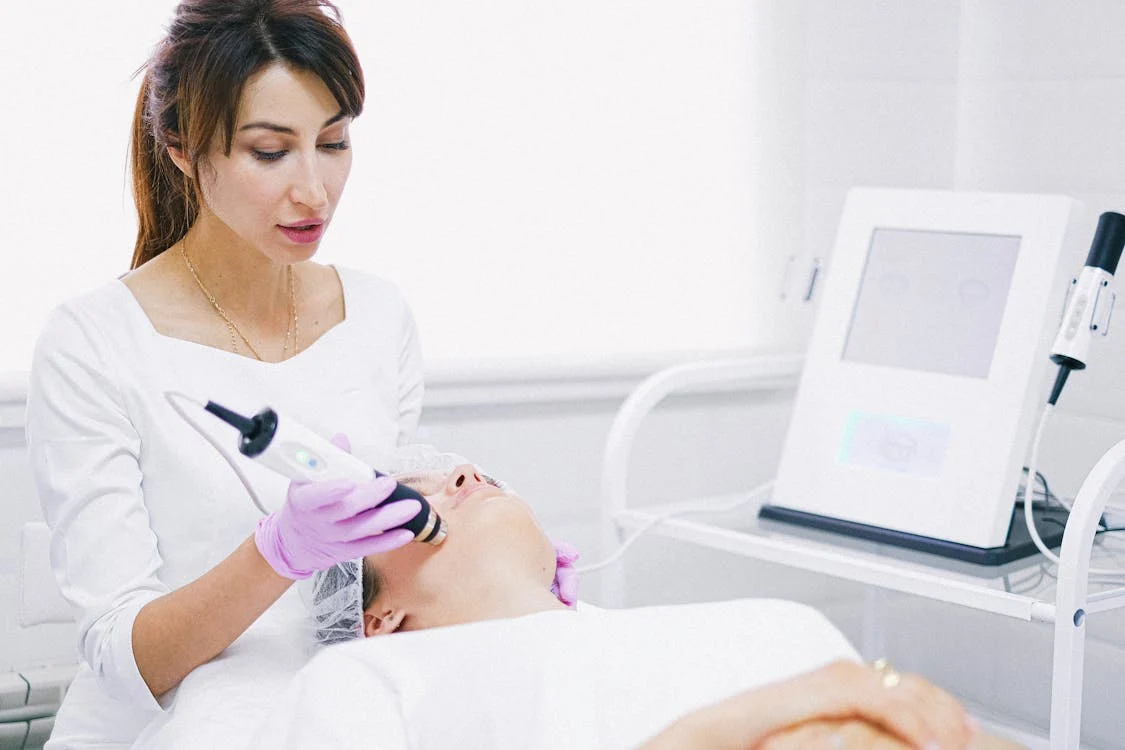
Dermatologists use professional-grade micro-needling devices that penetrate deeper into the skin (up to 2.5mm) for more dramatic results. At-home derma rollers, by contrast, have shorter needles (0.25mm–1.0mm), offering a gentler approach with gradual improvements.
Pros and Cons of At-Home Micro-Needling
Pros:
- More affordable than professional treatments
- Convenient and easy to incorporate into a skincare routine
- Delivers gradual, natural-looking results
- Boosts the effectiveness of skincare products
Cons:
- Requires consistency for visible improvements
- Improper use can lead to irritation or infection
- Shallower needle depth means results take longer to appear
Choosing the Right Dermaroller

Not all derma rollers are created equal! The right needle size depends on your skin concerns and experience level:
- 0.25mm: Ideal for beginners; enhances product absorption.
- 0.5 mm: Stimulates mild collagen production, reduces fine lines, and smooths skin texture.
- 1.0 mm: Targets deeper scars, wrinkles, and hyperpigmentation (use with caution).
For safety and effectiveness, always opt for a high-quality derma roller with medical-grade stainless steel or titanium needles. Inferior materials can cause unnecessary irritation and skin damage.
Shop editor’s choice
How to Perform Micro-Needling at Home
Step 1: Prep Your Skin and Tools
Start with a clean slate. Disinfect your derma roller by soaking it in 70% isopropyl alcohol for at least 5–10 minutes. While it soaks, cleanse your face thoroughly to remove dirt, oil, and makeup.
Step 2: Numb If Necessary
If using a 0.5mm needle or larger, apply a numbing cream to minimize discomfort. Let it sit for 15–20 minutes, then wipe it off completely before proceeding.
Step 3: Start Rolling
Using light, even pressure, roll the derma roller over your face in four directions:
- Vertically (up and down)
- Horizontally (side to side)
- Diagonally left
- Diagonally right
Roll each area 4–6 times before moving to the next section. Avoid active acne, open wounds, or highly sensitive areas.
Step 4: Apply Hydrating & Soothing Products
Immediately after micro-needling, your skin absorbs products more effectively. Apply a hydrating serum with hyaluronic acid, peptides, or ceramides to soothe and nourish your skin. Avoid harsh acids, retinol, and exfoliants for at least 48 hours.
Step 5: Post-Care & Protection
Your skin will be sensitive post-treatment, so take extra care:
- Avoid direct sun exposure for at least 24 hours.
- Wear sunscreen (SPF 30+) to protect your skin.
- Skip makeup for 12–24 hours to prevent irritation.
- Disinfect your derma roller after each use to maintain hygiene.
How Often Should You Micro-Needle?
The frequency of micro-needling depends on your skin type and the needle size used:
- 0.25mm needles: 2–3 times per week
- 0.5mm needles: Once a week
- 1.0mm needles: Every 2–3 weeks (allow more time for skin recovery)
Overuse can lead to irritation and sensitivity, so be patient and allow your skin time to heal between sessions.
Common Mistakes to Avoid
- Rolling Too Aggressively: Pressing too hard can cause unnecessary damage. Light pressure is sufficient.
- Using Harsh Ingredients Post-Treatment: Avoid acids, retinoids, and exfoliants for at least 48 hours.
- Skipping Sunscreen: Unprotected skin is more prone to hyperpigmentation after micro-needling.
- Not Cleaning Your Dermaroller: Always sanitize before and after use to prevent infections.
- Overdoing It: More is not always better. Stick to the recommended frequency to avoid skin damage.
The Final Verdict: Is Micro-Needling at Home Worth It?
Absolutely! While it may take time to see noticeable improvements, micro-needling at home is a cost-effective way to enhance your skin’s health and appearance. With the right technique, consistency, and aftercare, you can achieve smoother, firmer, and more radiant skin—all without breaking the bank.
So, if you’re ready to take your skincare routine to the next level, grab a derma roller and start rolling your way to a youthful glow! Just remember: patience and proper care are key to getting the best results.
Shop editor’s finds
Featured image: @lancomeofficial/Instagram
For the latest in fashion, lifestyle, and culture, follow us on Instagram @StyleRave
—Read also