How To Fix A Broken Nail At Home

A creative writer with a voracious appetite for fashion, beauty,…
H
aving well-maintained nails is not only for aesthetics but also an indication of good health, personal hygiene, and self-care. Your nails can make a lasting impression, whether it’s shaking hands in a professional setting or expressing yourself through creative nail art. However, despite our best efforts, accidents happen, and our precious nails can suffer the consequences. It could be a sudden break while performing daily activities, or weakened nails prone to splitting. Dealing with a broken nail can indeed be frustrating.
You need not panic or rush to the salon every time a nail breaks. With a little knowledge and the right tools, you can fix a broken nail at home and restore it to its former glory. Not only will this save you time and money, but it will also empower you to take control of your nail care routine.
Common causes of nail breakage
- Accidental impact: A sudden impact or trauma to the nail, such as hitting it against a hard surface, can cause it to break or split.
- Incorrect nail trimming: Nails that are trimmed too short or with improper techniques can weaken the nail structure, making them more susceptible to breakage.
- Weak nail structure: Some individuals naturally have weak or brittle nails due to genetic factors, poor nutrition, or underlying health conditions. These nails are prone to breakage even with minimal force.
- Excessive nail length: Long nails are more likely to snag or catch on objects, increasing the chances of a break.
- Chemical exposure: Constant exposure to harsh chemicals, such as cleaning agents or nail polish removers containing acetone, can weaken the nails over time, leading to breakage.
- Nail-biting or picking: Habits like nail-biting or picking at the nails can weaken the nail bed, making the nails more prone to breaking. To fix broken nail at home, you need to stop this habit of nitpicking on our nails. This way, you give it a chance to grow properly.
- Moisture imbalance: Excessive exposure to water or repeated wet-dry cycles can cause nails to become weak and brittle, making them more susceptible to breaks.
- Improper nail care: Neglecting proper nail care, such as failing to moisturize and protect the nails, can lead to dry and brittle nails prone to breakage.
It’s essential to identify the cause of your broken nails to prevent future incidents and adopt proper nail care practices that promote healthy and strong nails.
Tools needed for fixing a broken nail at home
To fix broken nails at home, here are things that you need:
- Nail clippers
- Nail file
- Nail glue
- Nail buffer
- Cotton ball or pad
- Nail polish remover (if needed)
Step by step guide on fixing a broken nail
- Step 1 – Assess the damage: Examine the broken nail to determine the extent of the break, and identify any jagged edges or sharp points that need to be addressed.
- Step 2 – Trim the nail: Using nail clippers, carefully trim any excess length from the broken nail. Be cautious not to cut too close to the nail bed to avoid further damage.
- Step 3 – File the nail: Gently file the nail in one direction to shape it and smooth out any rough edges. This helps prevent further snagging or tearing.
- Step 4 – Clean the nail: Take a cotton ball or pad and dampen it with water or a gentle nail cleanser. Clean the nail surface to remove any dirt, oils, or debris.
- Step 5 – Apply nail glue: Apply a small amount of nail glue to the broken area of the nail. Be careful not to use too much glue as it can create a bulky appearance. Hold the broken parts of the nail together and press them firmly for a few seconds to allow the glue to bond.
- Step 6 – Let the glue dry: Allow the nail to dry completely. This usually takes a few minutes, but follow the instructions on the nail glue for precise drying times.
- Step 7 – Buff the nail: Once the glue is dry, use a nail buffer to gently smooth the surface of the mended nail. This helps create a seamless finish and reduces any visible lines.
- Optional: Apply a clear base coat: After you fix a broken nail at home, it could look rough from filing. You can apply a clear base coat to the entire nail surface if you desire. This helps strengthen the mended area and provides a protective layer.
- Repeat as needed: If the damage is severe or the nail continues to be weak, you may need to repeat these steps periodically until the nail grows out and the break is no longer noticeable.
Watch video below to see how to use tea bags to fix broken nail at home:
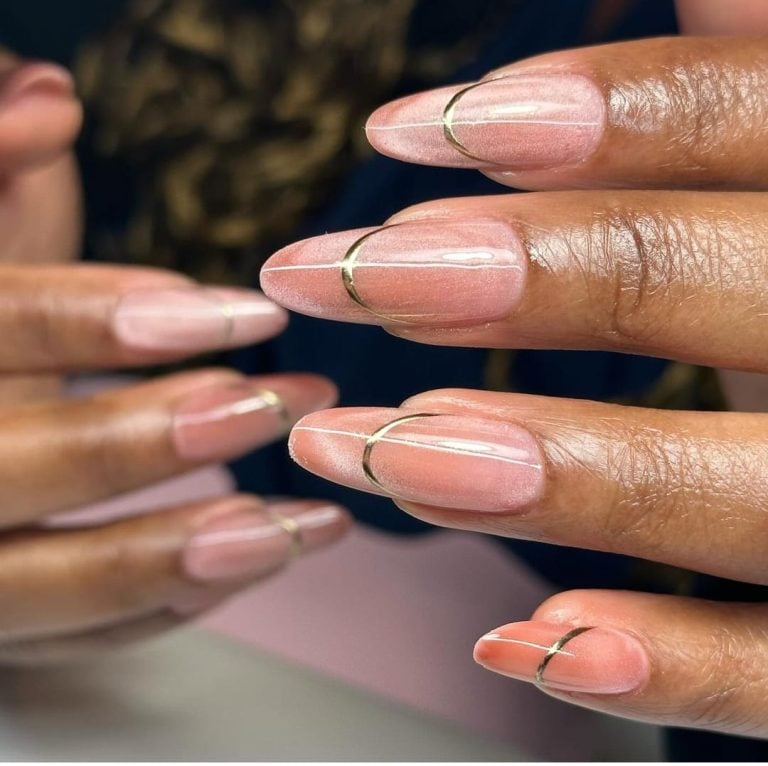
Featured image: @coverbaddienails/Instagram
For the latest in fashion, lifestyle, and culture, follow us on Instagram @StyleRave_
This is a Style Rave original content exclusively created for our readers. If reproduced, distributed, transmitted, cached, or otherwise used by any other publishing house or blogs, such use should provide a direct link to this source article. Use of and/or registration on any portion of this site constitutes acceptance of our Terms & Conditions and Privacy Policy.
—Read also
A creative writer with a voracious appetite for fashion, beauty, lifestyle and culture. As one who's passionate about the advancement of the woman, creating content that inspire smart style and living, and positive lifestyle changes is a calling I take seriously. At Style Rave, we aim to inspire our readers by providing engaging content to not just entertain but to inform and empower you as you ASPIRE to become more stylish, live smarter and be healthier. Follow us on Instagram @StyleRave_ ♥


