I
t is not too difficult to understand what spider lashes are all about. As the name suggests, this beauty trend champions a more dramatic, clumped lash appearance in place of the conventional mascara strategy that emphasizes separating and extending your lashes. Simply put, you deliberately apply mascara in a way that makes your lashes cling together, giving the appearance of spider legs—you know, that spiky and dramatic look.
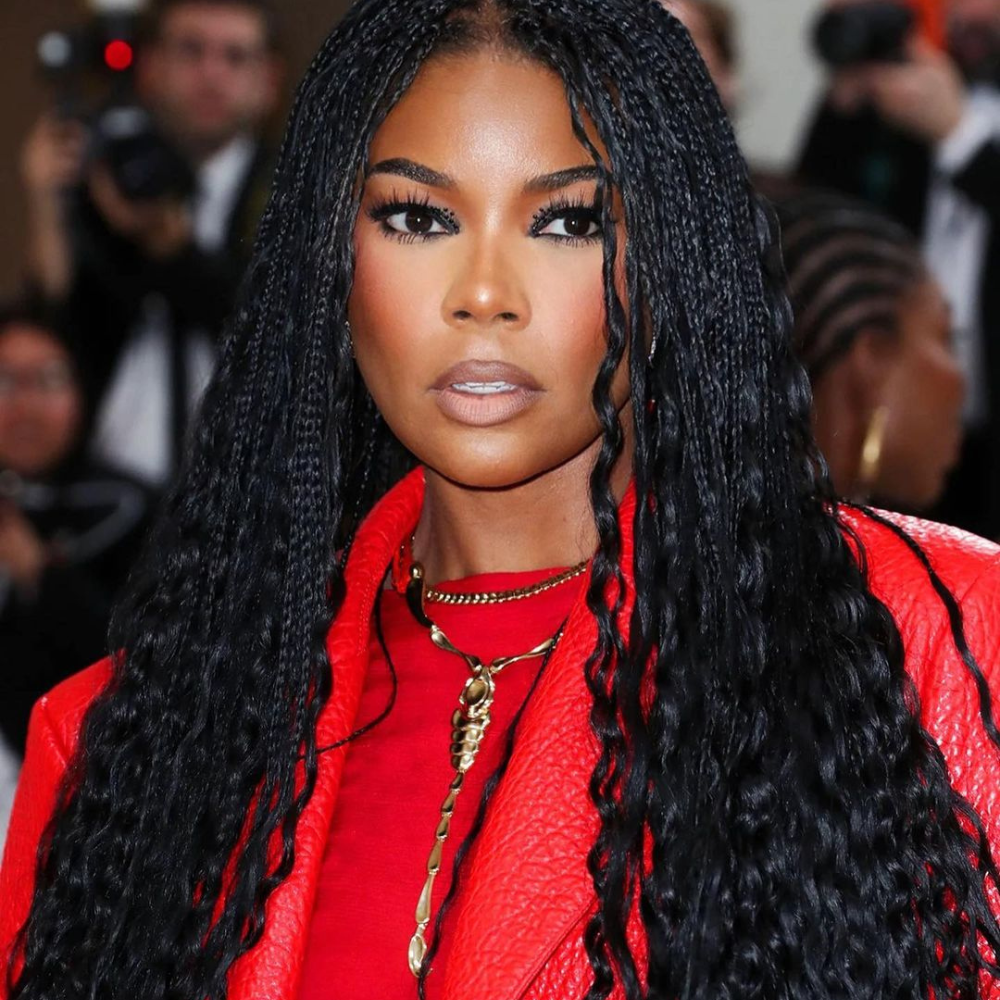
Why is this beauty trend returning now? Because the nature of the fashion/beauty landscape is that it’s impressively cyclic. Spider lashes are no different from other trends that eventually make a comeback. Several celebrities, including Gabrielle Union, and social media influencers have been stung by the spider lashes bug, adding a distinctive flair to their beauty game. As the trend continues to pick momentum, we suggest learning how to create yours and add a potent weapon to your beauty arsenal.
See how to nail spider lashes without missing…
@katiehub.org Replying to @lifeasamirrorball we LOVE spider lashes!!!! #fyp #mascara #spiderlashes
♬ Elevator Music – Bohoman
- Step 1: Prepare your lashes – Start with clean, dry eyelashes. Remove any old mascara to ensure a fresh canvas. You can use a gentle eye makeup remover if needed.
- Step 2: Choose the right mascara – Pick a mascara known for building volume and holding a curl. Opt for one with a thicker formula that can help with the clumping effect.
- Step 3: Wiggle the brush – Open the mascara and gently wiggle the brush at the base of your lashes. This coats them well and provides a good foundation.
- Step 4: Sweep – Now, slowly sweep the wand upwards along your lashes. Instead of separating them, let the lashes stick together naturally.
- Step 5: Work in layers – To intensify the spider lash effect, apply two or more coats. Let each coat dry a bit before adding another. Remember, the goal is to create clumps.
- Step 6: Focus on the tips – For extra drama, focus on the tips of your lashes. Apply a bit more mascara there to emphasize the spiky look.
- Step 7: Separate, if needed – If your lashes clump too much, you can use a clean mascara wand or a lash comb to separate them gently. But don’t overdo it; clumping is part of the style.
- Step 8: Keep it balanced – Ensure both eyes look symmetrical. Pay attention to the amount of mascara you apply to each lash to keep the balance.
- Step 9 (Optional): Enhance bottom lashes – If you want to go all out, you can apply a small amount of mascara to your bottom lashes, focusing on the ends for a coherent look.
Lastly, don’t be afraid to experiment and find the level of spikiness that suits you best.
Are there variations to this spider lash look?
@perspectivelashes Spider web lashes🕷❤️🔥 #fyp #halloween #halloween2021 #lashes #beforeandafter #transformation #beauty
♬ Adams Family Theme Song – Halloween DJ’s
Yes, there are many variations to this look, and each one is not too different from the other. They are:
- Classic spider lashes: This is the original spider lash style. It’s all about creating bold, clumped lashes that resemble a spider’s legs. You apply mascara generously, letting your lashes stick together for a dramatic, edgy effect.
- Subtle spider lashes: If you want to dip your toes into the trend without going all out, try the subtle version. Apply mascara normally, then use a clean brush or lash comb to gently separate your lashes. This gives a hint of the spider lash look without the full drama.
- Colored spider lashes: Do you want to make a statement with color? You can use colorful mascaras like blue, purple, or green to achieve spider lashes. The clumps will be colorful, adding a fun twist to the trend.
- Bottom lash spider lashes: Don’t forget your bottom lashes! Applying mascara to your lower lashes with a clumping effect can create a more intense spider lash look. Just be careful not to overdo it.
- Spiky ends: Instead of clumping the entire lash, you can focus on making the lash tips spiky. Apply extra mascara to the ends of your lashes to give them a sharp, defined appearance.
- Feathery spider lashes: This is a softer version of the trend. Apply mascara as usual, but use a lash comb or clean brush to gently separate and feather out the lashes, creating a wispy, feathery effect.
- Bottom-heavy spider lashes: For a unique twist, concentrate the clumps towards the roots of your lashes, making them look bottom-heavy. It’s an unconventional take on the trend that can be eye-catching.
The beauty of the spider lash trend is that you can customize it to your liking. Whether you can go for full drama, tone it down a notch, or play with colors, you’ll find that the trend works for everyone.
Shop editor’s finds
Featured image: @larryjarahsims/Instagram
For the latest in fashion, lifestyle, and culture, follow us on Instagram @StyleRave_
This is a Style Rave original content exclusively created for our readers. If reproduced, distributed, transmitted, cached, or otherwise used by any other publishing house or blogs, such use should provide a direct link to this source article. Use of and/or registration on any portion of this site constitutes acceptance of our Terms & Conditions and Privacy Policy.
—Read also